

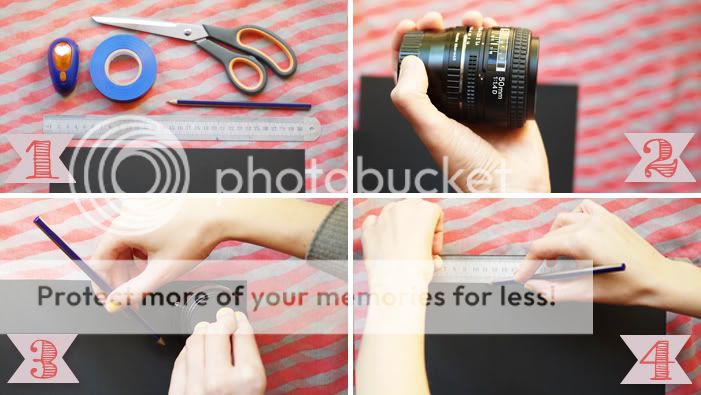
2.) Choose the lens you will be using, and place it lens side down on the black card.
3.) Carefully trace the lens shape (I used the narrow part of the lens that extends as you focus. If you trace around the wider part, you won't have control over the lens rings, which would be annoying.
4.) Trace a strip of card, which will form a ring around your lens. So make sure it is long enough to wrap all the way around the lens, it doesn't matter if it overlaps. I made mine the width of the ruler, about 1.5 - 2 inches, which worked perfect.

6.) If you want to draw your own shape, draw it into the centre of the circle now. You then need to cut out your shape. The hole punch made this easy! I was worried with my hole punch one, that the punch didn't reach all the way to the centre, but it didn't matter too much. The important thing to not is how wide the aperture opens (you can see by looking into the front of the lens). As long as the aperture 'blades' don't overlap your shape when it sits over the lens, you'll be fine. Be carefull to keep your disc flat, don't bend it to cut it, or you'll have problems later.
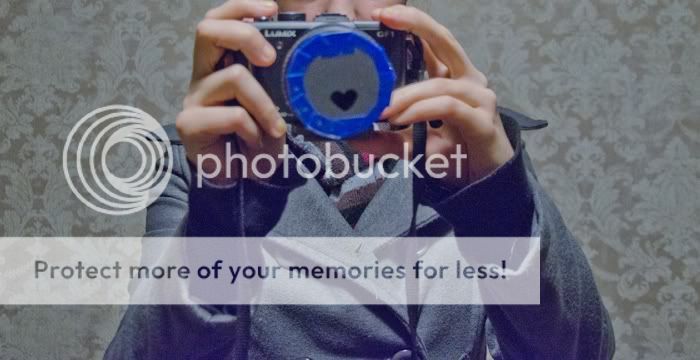
7.) Attach the disc to the ring. You can see on my heart-shaped one, I tried to seal any light coming in with tape all the way around the edge. I found this wasn't entirely necessary, if you cut the pieces pretty well, they should fit with just a little tape holding them on.
8. My finished lens hoods, a kitty shape (you can tell, right? I hope!) and a heart shape.


Kitty
xo
Thanks so much for guest posting today, Kitty! I LOVE this DIY, and I can't wait to give it a try myself!
Xo Chloe.
10 colorful thought(s):
ohh thats awesome! i'll have to try it :)
OMG! the kitty one is awesome!!!!
I love doing this! It creates such fun photos :]
this is aaaaaaamazing and I must try it when I actually have time for such fun things!
This is really wonderful! I had no idea it was actually this simple. Thanks guys (:
So cute! Must try this.
Very cool!! I can't believe how neat the pictures look.
That's a really fun idea, I knew you could get lens cover things for Holga's to make pictures like that but I never thought of making it myself!
I love making these! Me and my boyfriend spend endless hours doing this :) I've just found your blog and I'm in love, it beautiful, thank you for it!
I'm your newest follower :)
Jess xo
timefortea
Hey Chloe, thanks so much for having me :)
(I just got back from holiday and I'm playing catch-up!) I'm so glad you guys liked the DIY too :)
Kitty
xo
Post a Comment
Thank you so much for taking the time to comment. Kind words are always appreciated!