

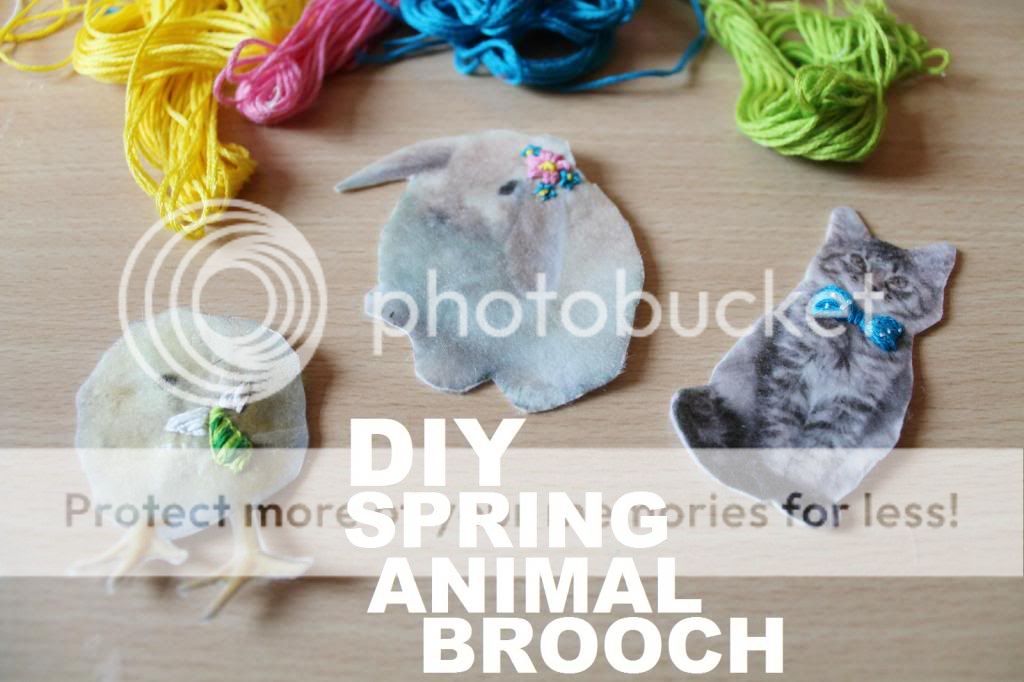
Hey there, I'm Ally and I blog over at Now That's Pretty. For this DIY I wanted to create something extra springy that I could wear to welcome in the bright flowers and warmer days. I don't think there's much more springy than baby animals and so I rustled up these cute badges! I've used embroidery thread to decorate mine but you can use pretty much anything; they'd look really cute with small flowers or sequins- oh the possibilities!
You will need:
Printable Iron on transfer paper
A badge fitting
Some cute baby animal pictures (that's right I just gave you permission to browse the internet for some fluffy cuteness for a while. You're welcome.)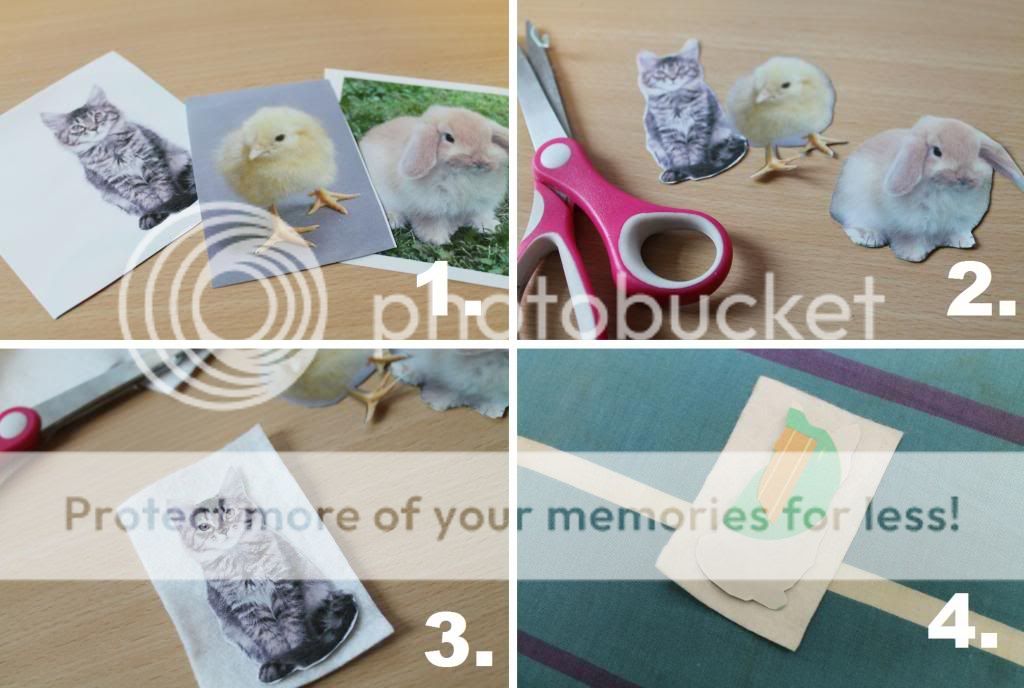
1) Firstly print your pictures on your transfer paper. Remember to flip them on the computer as the ironing will reverse them.
2) Now cut out your pictures cutting as close to the images as you dare. It's much easier to trim your pictures at this stage than when they're on felt. 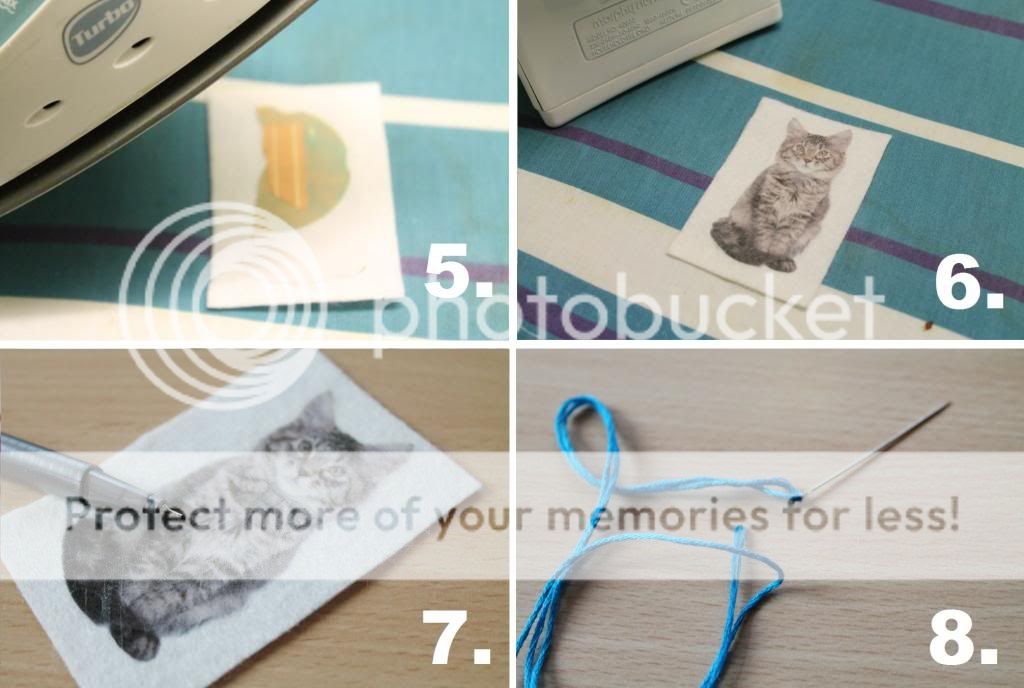
5) Allow your paper to cool a little before lifting up.
6) Ta-da! You've made cat fabric, life is complete. 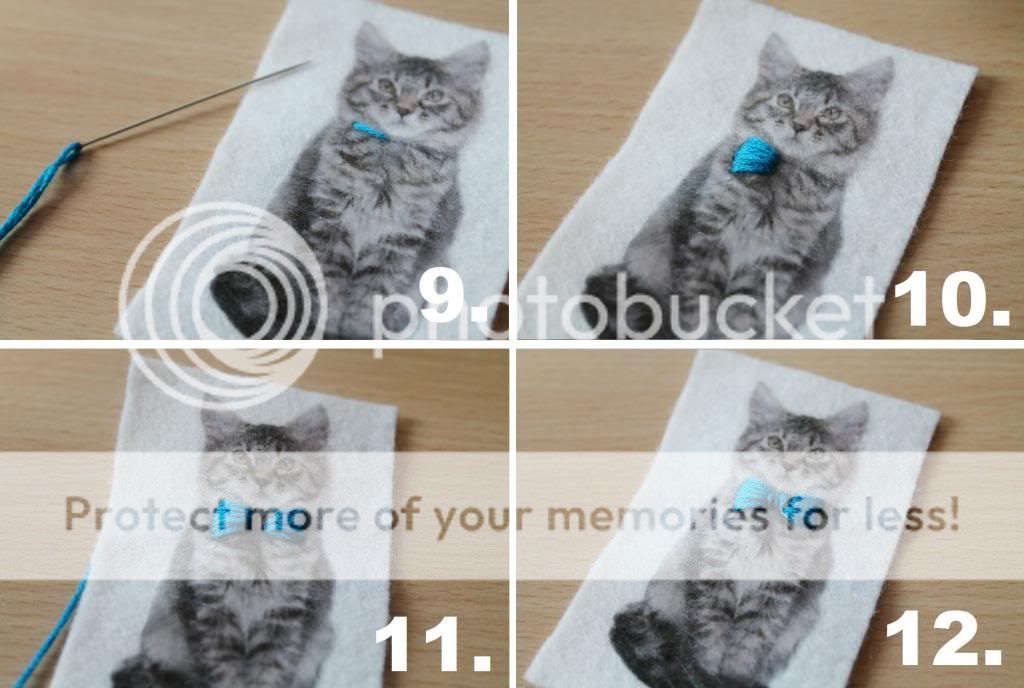
9) When embroidering just work to build up colour using short straight lines.
10) To make the bow tie design all you need to do is a block on one side...
11) ...A block on the other...
12) And then a central piece which runs in the opposite direction. (So I had don't side parts of the bow tie from side to side whereas the middle I stitched up and down)

13) Tie a not in the back of your design to stop it unravelling.
14) If you want to add more detail then simply go over the top with another colour.
15) Now to seal your image apply nail varnish over the top avoiding the embroidery thread and wait to dry before cutting out.
16) Lastly apply a badge or brooch fitting to the back and you are done!
Thanks so much for sharing this awesome DIY in the first Explorer Series! I am seriously in love with the kitty! You should sell these, Ally! Stop over at Now That's Pretty and say hi to Ally!
Xo Chloe.
10 colorful thought(s):
These are adorable!!
These are so quirky and kitsch! ♥
Perfect!
Abigail
www.deardaffodils.blogspot.com
This is absolutely adorable! I would love to hang some kitty ones on my wall, thanks for the cute project!
Have a great day!
xo Hannah
thebraidedbandit.blogspot.com
Omg so cute!!! What a fabulous idea!!!
xo Dinah @ sunshine super glam
These are darling!!
This is so cute and fun! I love how easy it is too
What a fun DIY! Always looking for new ideas :]
Check out my free people giveaway!
http://www.freelyronnie.blogspot.com/2013/03/free-people-accessory-giveaway.html
xo sharon
oh my <3 you are so talented ! i'm in love with this diy, unfortunatelly i'm not able to do such things :(
http://coeursdefoxes.blogspot.com/
So happy to have stumbled across your blog! You are SO talented. Newest follower right here :)
xo
Hailey Devine
www.somethingdevineblog.com
Ok!!!! This is a fantastic idea. I am going to make some of my cats and give them little top hats.
Post a Comment
Thank you so much for taking the time to comment. Kind words are always appreciated!